Table of Contents
TogglePest control companies charge anywhere from $300 to $700 annually for quarterly treatments, money that adds up fast when you’re maintaining a home. But here’s the thing: most common household pests respond just as well to DIY treatment when done correctly. Homeowners who take control of their own pest management not only save hundreds of dollars a year but also gain the ability to respond immediately when they spot the first scout ant or spider. This guide walks through the tools, products, and strategies needed to establish an effective DIY pest control program that keeps your home protected year-round.
Key Takeaways
- DIY pest control saves homeowners 60–75% annually compared to professional services, with initial setup costs of $150–$250 versus $300–$700 yearly contracts.
- A functional DIY pest control program requires essential tools including a pump sprayer, granular spreader, and safety gear, plus targeted products like insecticides, baits, and growth regulators.
- Seal entry points, eliminate attractants, and establish treatment zones before applying pesticides—this structural prevention can reduce pest pressure by 50% or more on its own.
- Different pests require different approaches: use gel baits for ants, multi-pronged attacks for roaches, moisture control for silverfish, and perimeter barriers for outdoor defense.
- Termites, bed bugs, large-scale infestations, and structural damage warrant professional help, but homeowners can handle 80–90% of typical pest pressure through consistent DIY maintenance and monitoring.
Why DIY Pest Control Makes Sense for Most Homeowners
Professional pest control services follow the same basic principles available to homeowners: identify the pest, eliminate access points, apply appropriate treatments, and monitor results. The primary difference is labor cost, not access to superior products. Most effective pesticides used by pros are available in consumer formulations at home improvement stores.
Cost savings drive many homeowners toward DIY approaches. A typical annual contract runs $300–$700, while a comprehensive DIY setup, including sprayer, granular spreader, and a year’s supply of treatments, costs $150–$250 total. That’s roughly 60–75% savings in the first year alone, with even greater savings in subsequent years when only product refills are needed.
Beyond finances, DIY pest control offers flexibility. When the homeowner notices activity, they can treat immediately rather than waiting days or weeks for a scheduled service call. This responsiveness often prevents small problems from becoming infestations. It also allows treatment customization based on specific pest pressures and household concerns, important for homes with pets, children, or sensitivities to certain chemicals.
That said, DIY isn’t always appropriate. Termites, bed bugs, and certain wood-destroying insects require specialized detection equipment and treatment methods that justify professional intervention. Structural infestations that have caused damage may also need licensed evaluation for insurance or remediation purposes.
Essential Tools and Products Every DIYer Needs
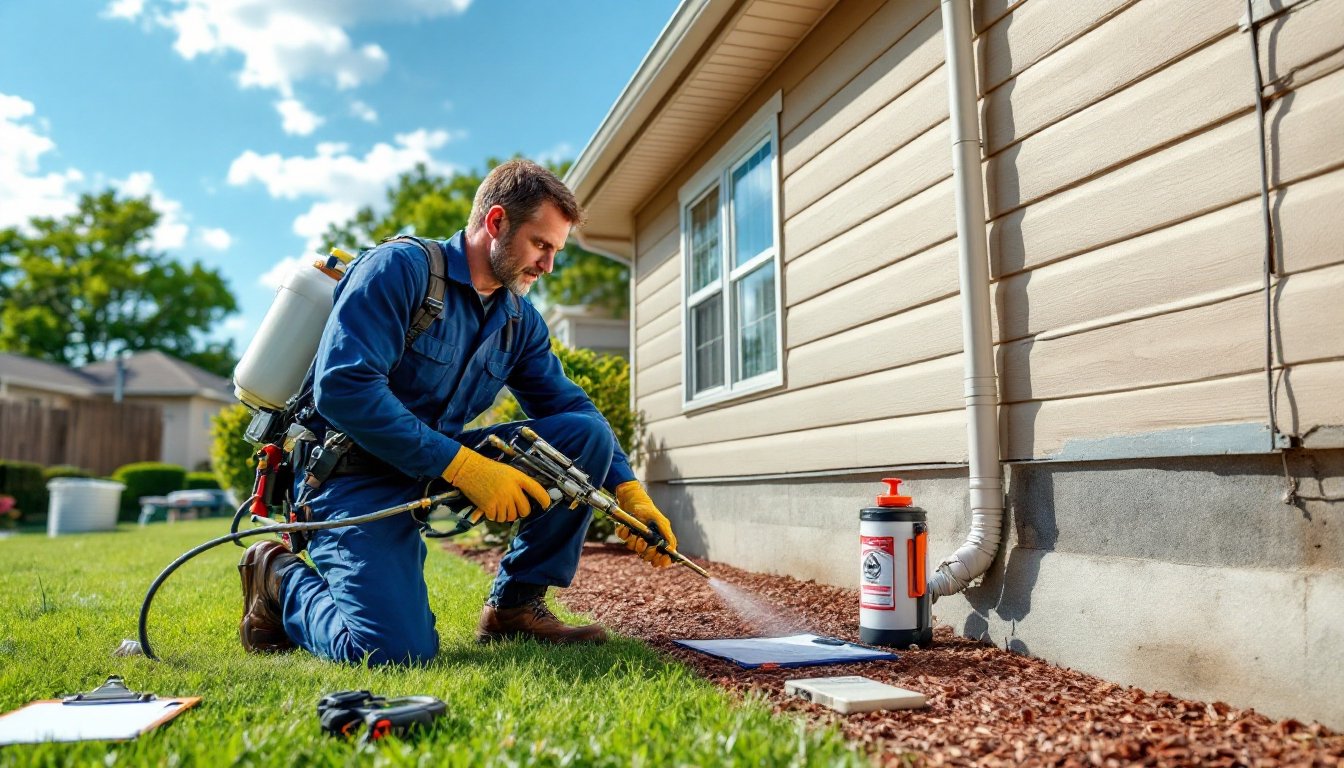
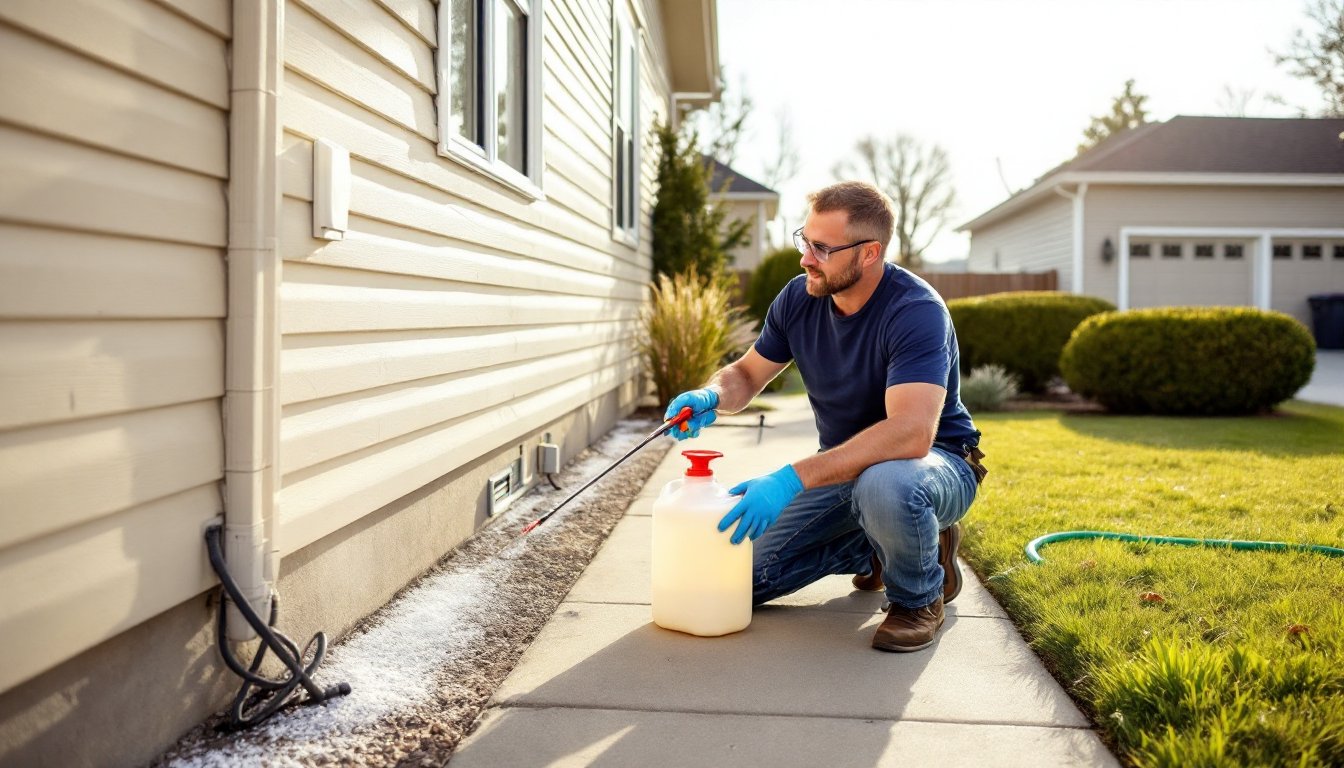
A functional DIY pest control kit doesn’t require a van full of equipment. Start with a 1–2 gallon pump sprayer with adjustable nozzle for applying liquid insecticides. Models with pressure-relief valves and translucent tanks make the job safer and easier. Budget $30–$60 for a quality unit that’ll last multiple seasons.
For granular applications around the foundation and lawn, a broadcast spreader works well. A handheld model ($25–$40) suffices for most residential lots under half an acre. Larger properties benefit from a push spreader with adjustable flow rates.
Safety gear isn’t optional. Chemical-resistant nitrile gloves, safety glasses, and a respirator rated for pesticides (look for N95 or P100 cartridges) protect against exposure during mixing and application. Long sleeves and pants should be standard, even for “low-toxicity” products.
As for products, a well-rounded program includes:
- Liquid concentrate insecticide with bifenthrin or permethrin as active ingredients (broad-spectrum control for ants, spiders, roaches, and occasional invaders)
- Granular perimeter treatment for outdoor barrier protection
- Insect growth regulator (IGR) to disrupt breeding cycles indoors
- Gel baits for targeted control of ants and roaches
- Dust formulation (like diatomaceous earth or silica gel) for voids, attics, and wall cavities
Many tested recommendations point toward concentrate formulations over ready-to-use sprays, they’re more economical and allow precise dilution rates. Always read labels for PPE requirements and organic alternatives where appropriate.
Step-by-Step: Creating Your DIY Pest Control Plan
Effective pest management isn’t about spraying randomly. It requires a structured approach that addresses entry points, attractants, and population control.
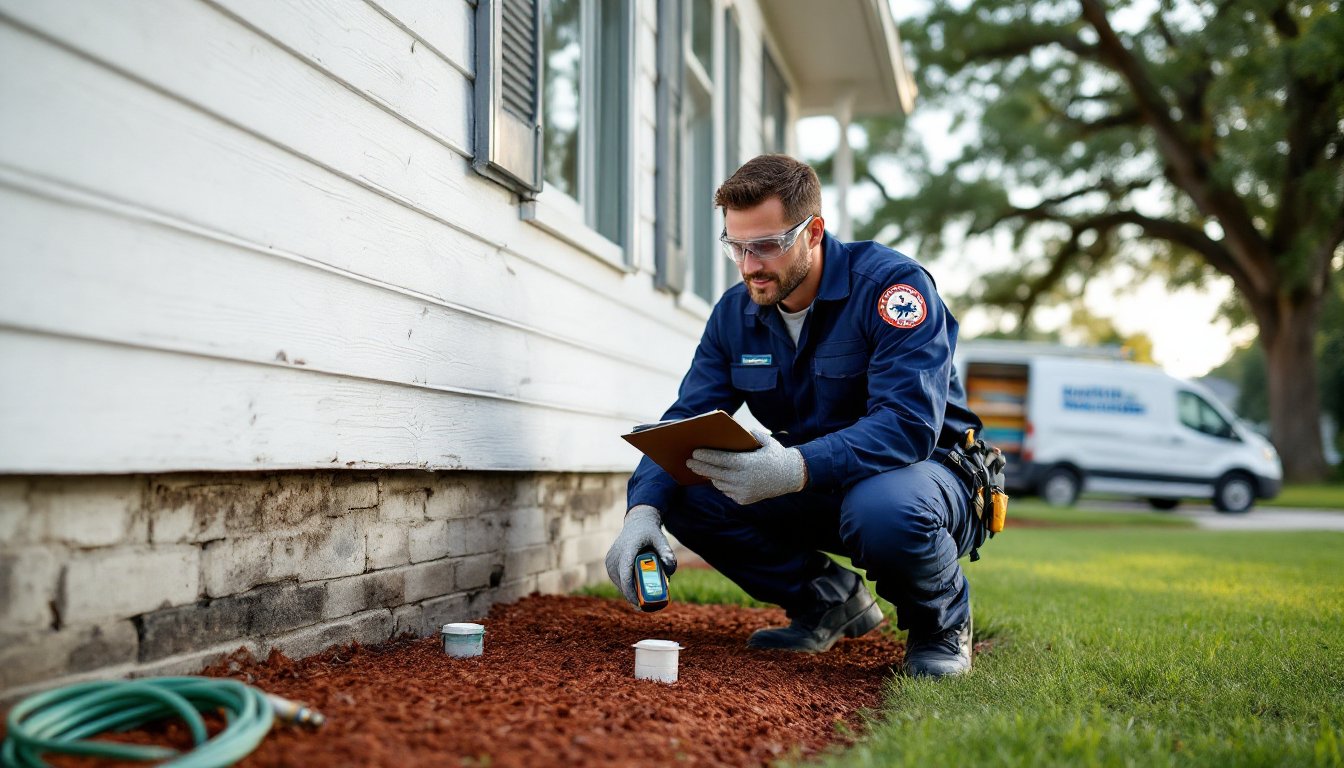
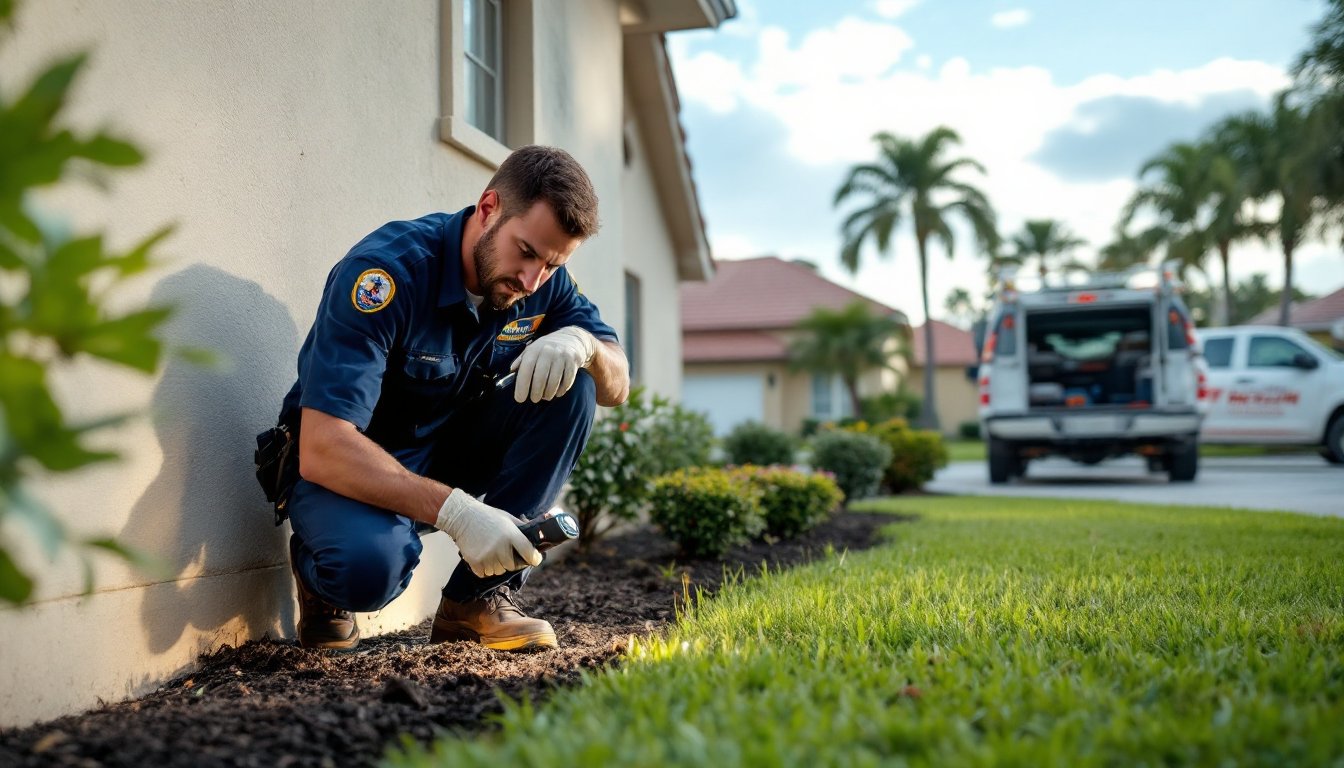
1. Conduct an inspection. Walk the entire perimeter of the home, looking for cracks in the foundation, gaps around utility penetrations, torn screens, and damaged weatherstripping. Indoors, check under sinks, behind appliances, and in basements or crawlspaces for moisture issues, food debris, or pest evidence (droppings, shed skins, dead insects).
2. Seal entry points. Use silicone caulk for cracks under ⅛ inch, expanding foam for larger gaps (but not around areas requiring fire-rated materials), and copper mesh for pipe penetrations that need ventilation. Replace damaged door sweeps and repair window screens. This step alone can reduce pest pressure by 50% or more.
3. Eliminate attractants. Store firewood at least 20 feet from the house and 6 inches off the ground. Trim vegetation so it doesn’t contact siding or the roof. Fix leaky faucets and address drainage issues, moisture attracts everything from ants to silverfish. Indoors, store pantry items in airtight containers and clean up spills immediately.
4. Establish treatment zones. Divide the property into three areas: indoor treatment zones (kitchens, bathrooms, basements), perimeter barrier (foundation and 3-foot band extending outward), and outlying areas (fence lines, sheds, landscape features). Each zone gets specific products applied at appropriate intervals.
5. Set a treatment schedule. Most liquid barrier treatments last 60–90 days: granular products typically last 90 days. Mark a calendar for reapplication. Spring and fall are critical treatment windows when pests are most active and seeking entry for seasonal changes. Consider seasonal pest control strategies that adjust tactics based on the time of year.
Targeting Common Household Pests Yourself
Different pests require different approaches. Understanding their behavior improves treatment effectiveness and reduces wasted effort.
Indoor Treatment Strategies
For ants, identification matters. Odorous house ants and carpenter ants respond to different baits. Use gel baits with slow-acting toxins that foragers carry back to the colony. Apply pea-sized dots near trails, but don’t spray over bait, it repels ants. For carpenter ants, locate satellite colonies in wall voids and treat with dust formulations through small drilled holes (which should be sealed after treatment).
Roaches need a multi-pronged attack. Apply gel bait in cracks, crevices, and under appliances where they hide. Treat wall voids and attics with dust. Use an IGR spray in kitchens and bathrooms to prevent nymphs from maturing. Remove clutter that provides harborage, roaches thrive in stacked cardboard and paper.
Spiders are largely beneficial but unwelcome indoors. Focus on reducing their food source (other insects) rather than targeting spiders directly. Dust corners, window frames, and attic spaces. Most liquid barrier treatments also provide spider control as a side benefit. Many simple tricks involve regular vacuuming of webs and reducing outdoor lighting that attracts prey insects.
Silverfish and firebrats prefer damp environments. Address moisture first, dehumidify basements and fix leaks. Dust wall voids and apply residual spray along baseboards. Store books, papers, and textiles in sealed plastic bins.
For pantry pests (moths, beetles, weevils), treatment starts with identification and disposal of infested food. Empty cabinets completely, vacuum all cracks and corners, then wipe surfaces with soapy water. Pheromone traps catch adult moths and indicate activity levels. Prevent reintroduction by inspecting groceries before storing and using airtight containers.
Outdoor Perimeter Defense
The foundation barrier is your first line of defense. Mix liquid concentrate according to label directions (typically 0.5–1 oz per gallon) and apply a 3-foot band up the foundation and 3 feet out onto the ground. Spray along door thresholds, window frames, eaves, and utility entry points. Treat in spring (April–May) and fall (September–October) at minimum, with summer touch-ups if needed.
Granular treatments extend protection away from the structure. Broadcast around the foundation, landscape beds, and along fence lines. Water lightly after application to activate the product. This creates a protective zone that kills insects before they reach the house.
For fire ants, treat individual mounds with targeted bait or drench. Baits work slowly but eliminate the queen: drenches kill visible workers faster but may miss the colony. Apply mound treatments in early morning or late evening when ants are active near the surface.
Mosquitoes breed in standing water. Eliminate sources by emptying containers, cleaning gutters, and ensuring proper drainage. Treat remaining water features with Bti dunks (a biological larvicide safe for wildlife). For adult control, spray shaded resting areas like under decks and shrubs. Products containing natural pyrethrins or synthetic pyrethroids provide temporary knockdown for outdoor events.
Tick control requires treating the lawn perimeter where wooded areas meet turf. Apply granular or liquid treatments in spring and fall, focusing on the transition zone. Consider pest barrier products that create a treated zone around the entire property.
When to Call a Professional Instead
Some situations exceed the scope of DIY treatment and require professional equipment, training, or licensing.
Termites top this list. Detection requires moisture meters, thermal imaging, and knowledge of termite biology. Treatment often involves trenching around the foundation and injecting hundreds of gallons of termiticide, work that demands specialized equipment and licensing in most jurisdictions. DIY termite treatments exist but rarely provide the long-term protection and warranty that professionals offer.
Bed bugs spread quickly and hide in tiny cracks that are difficult to treat thoroughly. Professional heat treatment or fumigation reaches all life stages simultaneously, while DIY efforts often miss eggs and result in recurring infestations. If confirmed bed bugs exist, professional treatment is almost always more cost-effective in the long run.
Wildlife removal (bats, raccoons, squirrels in attics) requires species-specific knowledge and may be regulated by state wildlife agencies. Improper exclusion can trap animals inside, creating worse problems. Many home organization tips emphasize that prevention through proper attic sealing should happen after professional removal, not instead of it.
Large-scale infestations that have caused structural damage need professional assessment. Insurance claims may require licensed applicator documentation. If you see signs of active wood damage, large numbers of winged insects emerging indoors, or extensive gnaw marks, call a pro for evaluation even if you handle routine maintenance yourself.
Health concerns warrant professional help. If household members have severe allergies, respiratory conditions, or chemical sensitivities, a licensed applicator can select appropriate low-impact products and apply them with precision that minimizes exposure. State-specific pest control advice often includes referrals to licensed professionals when health factors complicate DIY approaches.
Finally, if DIY efforts fail after two treatment cycles with proper product application and sanitation, it’s time to get a professional opinion. They may identify contributing factors you’ve missed or confirm that a different pest species requires a different approach. Detailed project tutorials can guide many home improvements, but pest biology sometimes requires expert diagnosis.
A skilled homeowner can handle 80–90% of typical pest pressure through consistent DIY maintenance. Knowing when to call backup is part of that skill set.