
A cluttered workshop can turn even the most dedicated DIY enthusiast into a frustrated mess. Imagine hunting for that elusive screwdriver while tripping over a mountain of tools—it’s like a game of hide and seek, but nobody’s winning. Organizing tools isn’t just about tidiness; it’s about transforming chaos into creativity.
How to Organize Tools in Workshop
A systematic approach simplifies tool organization in a workshop. Start by categorizing tools into groups based on their function. Group hand tools, power tools, and measuring tools separately. This classification makes it easier to locate what’s needed quickly.
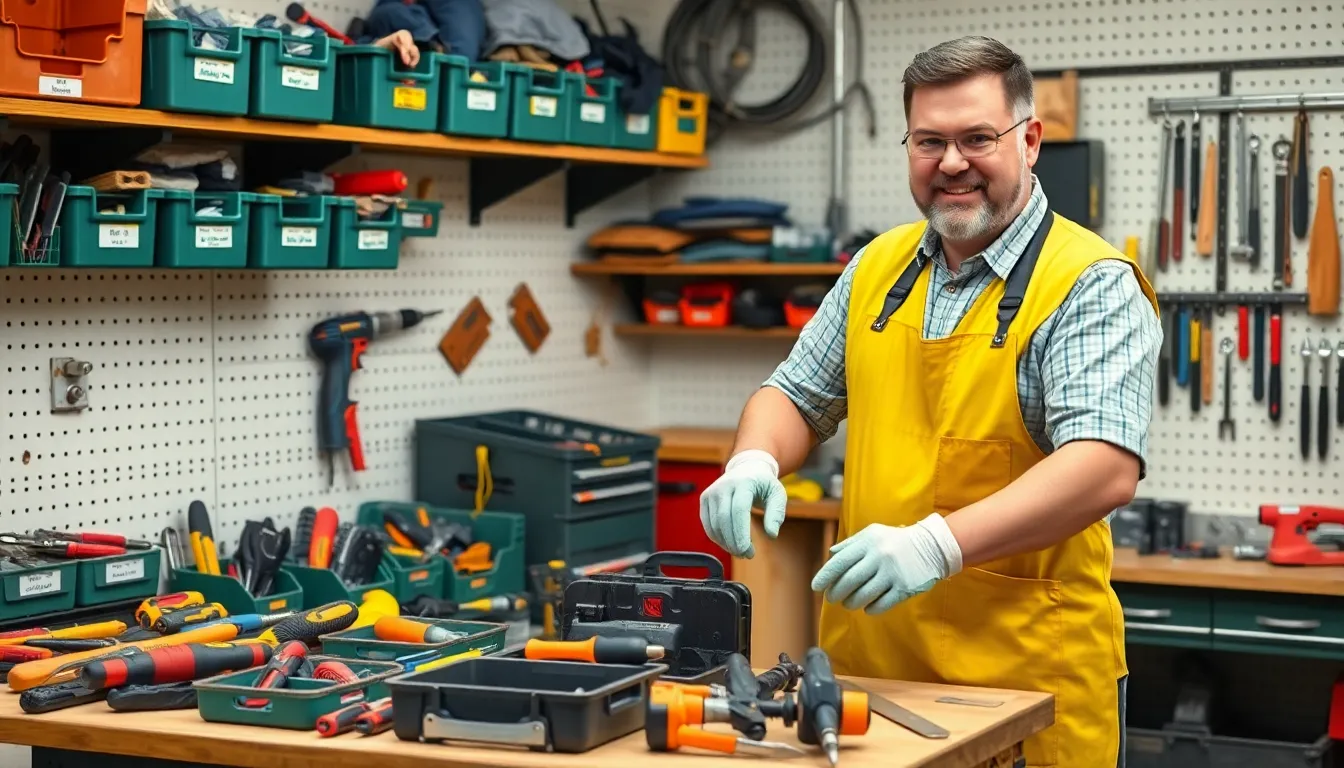
Use storage solutions tailored to each category. Wall-mounted pegboards hold frequently used tools, providing visibility and easy access. Drawer organizers work well for smaller tools, ensuring they remain tidy. Shelving units can accommodate larger equipment, keeping the floor clear and safer.
Incorporate labels for each storage area. Labeling helps identify where tools belong, reducing the chances of misplacement. Assign a specific location for each tool, creating a habit of returning them after use.
Establish a cleaning schedule. Regularly decluttering the workspace prevents accumulation of unnecessary items. Setting aside time weekly for maintenance keeps the environment organized.
Evaluate the layout of the workshop. Optimize space by placing frequently used tools within arm’s reach. Store infrequently used items in hard-to-reach spaces to maximize efficiency.
Consider mobile storage carts. These provide flexibility to move tools where they’re needed most. Utilizing a mobile cart allows for quick access and minimizes workspace clutter.
Finally, adapt the organization system as needs change. Regular assessments ensure tools remain organized as projects evolve. Embracing these strategies fosters a creative workshop environment, making DIY projects more enjoyable.
Assessing Your Tools
Assessing tools in a workshop represents a key step in establishing an efficient workspace. A systematic evaluation ensures all essential tools are easily accessible and organized.
Categorizing Your Tools
Categorizing tools simplifies the organization process. Grouping tools by function—such as hand tools, power tools, and measuring tools—creates a logical flow in the workspace. Placing similar tools together not only enhances efficiency but also minimizes searching time. Consider using specific storage solutions like labeled bins or trays for each category. This practice increases visibility and reduces clutter.
Evaluating Tool Frequency
Evaluating tool frequency helps prioritize which tools require easy access. Analyzing usage patterns reveals frequently used tools that should be readily available, such as hammers and screwdrivers. For infrequently used tools, consider placing them in less accessible storage. It’s beneficial to maintain an inventory list to track usage and adjust placement as needed. Adapting to changing project demands ensures that tool accessibility aligns with active work in the shop.
Creating a Storage Plan
Creating a storage plan enhances organization and accessibility in the workshop. This method allows for a structured approach to tool management.
Choosing Storage Solutions
Selecting storage solutions depends on the types of tools and available space. Pegboards offer easy visibility and access for hand tools, while drawer organizers help keep smaller items sorted. Shelving units can accommodate larger equipment, maximizing vertical space. Mobile storage carts provide flexibility, allowing movement as needed. Labels on all storage types facilitate quick identification, reducing time spent searching for tools.
Designing Your Workbench
Designing a workbench requires consideration of workflow and tool accessibility. A height-adjustable workbench supports comfort during projects and accommodates various tasks. Integrating built-in storage drawers keeps essential tools immediately accessible. Ensuring the workbench has ample surface space promotes multitasking without clutter. Positioning the workbench in a well-lit area improves visibility, enhancing safety and efficiency during projects.
Implementing Organization Strategies
Implementing effective organization strategies enhances functionality in a workshop. Specific methods create an efficient workspace while reducing clutter.
Utilizing Vertical Space
Maximizing vertical space optimizes tool storage. Wall-mounted shelves provide room for larger power tools and equipment. Utilizing pegboards allows for easy access to hand tools, keeping them visible and organized. Hanging tools vertically also frees up valuable workbench space. Using crates or bins on shelves facilitates the organization of smaller items. Tools can be stored in labeled containers, ensuring quick identification. Arranging tools by category on vertical surfaces speeds up workflow. Incorporating hooks and magnetic strips further enhances accessibility for frequently used tools.
Labeling and Inventorying Tools
Labeling tools and maintaining an inventory simplifies tool organization. Clear labels on storage containers and shelves prevent confusion and streamline access. An inventory list tracks essential tools and indicates which items are in use or require replacement. Regular updates to the inventory ensure that tools align with project needs. By categorizing tools—like hand tools, power tools, and measuring devices—efficiency improves significantly. Implementing a color-coding system for different tool types allows for faster identification. Regular assessments of tool usage patterns help prioritize accessible tools. Overall, effective labeling and inventorying lead to a more organized and productive workshop environment.
Maintaining an Organized Workshop
A well-organized workshop requires consistent effort, and establishing effective practices is key. Regular clean-up routines play a vital role in maintaining order.
Regular Clean-Up Routines
Implementing a regular cleaning schedule ensures workspaces remain clutter-free. Setting aside time weekly to tidy up helps prevent the build-up of dust and disarray. Regularly returning tools to their designated spots fosters a sense of discipline. It also enhances the overall atmosphere of creativity. Engaging in quick daily tidy-ups can minimize larger cleaning tasks down the road. Furthermore, checking for misplaced items during these sessions enhances tool availability. Prioritizing clean-up after each project wraps up keeps spaces ready for future tasks.
Adapting Your Organization System
Circumstances regularly change in a workshop, making it important to adapt organization systems as needed. Evaluating the effectiveness of current storage solutions supports ongoing accessibility. As projects vary in scale, adjusting layout and storage methods becomes necessary. Adding dividers in drawers or utilizing additional shelving can accommodate new tools. Furthermore, regular reassessment leads to efficiency; tools that aren’t frequently used can be stored farther away, while those in high demand should remain easily accessible. Color-coding or renaming labels enhances clarity, allowing for quick identification of tools. Prioritize adaptability to maximize the functionality of a workshop over time.
An organized workshop is crucial for any DIY enthusiast looking to enhance creativity and efficiency. By implementing systematic organization strategies and regularly maintaining the space, it’s possible to create an environment that fosters productivity. Prioritizing tool accessibility through categorization and tailored storage solutions not only reduces frustration but also streamlines workflow.
Regular evaluations of the organization system ensure that the workshop adapts to changing project needs. With a commitment to keeping tools in their designated spots and maintaining a clean workspace, anyone can transform their workshop into a well-ordered haven for creativity. Embracing these practices leads to a more enjoyable and efficient DIY experience.